The Chapter 88 EAA Biplane Project is entering new territory with biplane wings. The two upper wings are complete minus covering and the upper center section is almost reassembled! Staging is now underway for the two lower wings for which Daddy had the materials but had not yet begun. The ribs are complete, hardware prepped and primed and the ailerons are ready for reassembly!.
I can hardly contain myself as we press pass redoing what Daddy has done. I have included below the backstory and other progress reports. There are links to other posts that add more details.
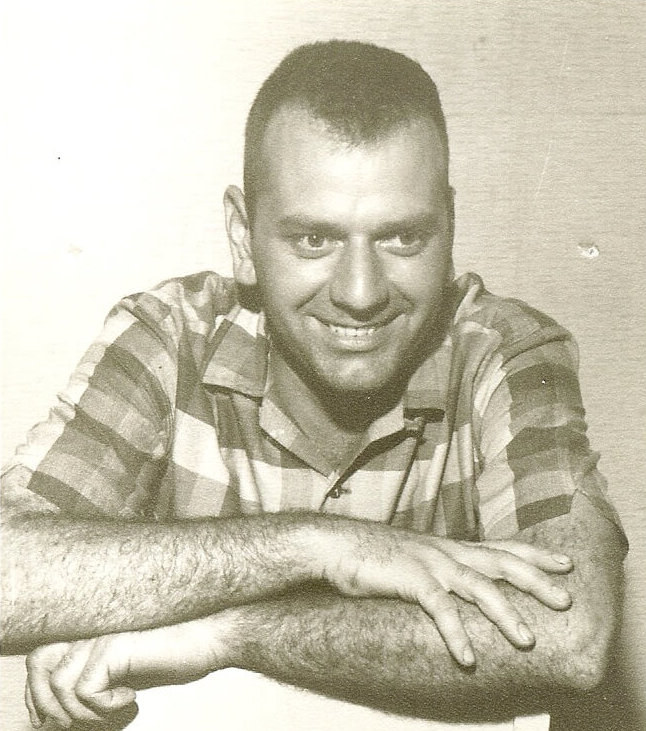
This week Dad would have been 93 years old. I spent the afternoon on my own working on the biplane at the EAA Workshop. Happy Birthday Daddy!
The Backstory
Me, at seven years of age: “Daddy, how long will it take to build the biplane?”
Daddy: “I’m not sure, but you will probably be old enough to fly it by the time it is done”.
Me: “How old to I have to be to fly?”
Daddy: “At least 16 old.”
I asked the question as Daddy tap tap tapped bits of wood into a handmade jig fabricating the ribs for a 1960 EAA Bi-plane. We were sitting on the floor of the den watching TV. I remember thinking: that’s a long time! And it was.
Biplane Wings And Other Parts

When my dad went Home to heaven in March of 2000 I was given charge of this unfinished project he began late in the 60s. Daddy a lot done. He had cut, shaped and welded the fuselage including:
- stick and rudder pedals
- elevators
- rudder
- tail wheel
- landing gear
…from aircraft grade steel rods and pipe. These were assembled and the longitudinal flight controls wired.
He had also fabricated dozens of ribs for the Biplane Wings and ailerons from bits of aircraft grade wood using templates and plans provided in the EAA plans. The ribs were placed onto wooded spars forming the wings.
There is an instrument panel, seat, fly wires, and tires. He was close to begin the fabric covering with special muslin and dope. He didn’t get to that step. Also, I think the process of inspection may have been intimidating to Daddy.
Almost But…
He worked on it until the 1970s. I remember it actually assembled, up on tires and landing gear in the back of his shop for a while. He had a motor, I also inherited. However, a few weeks before he passed, he told me not to use it if I decided to build the plane. Its’ 85 horsepower was not enough….
I am not sure what derailed the project, but at some point it was set on the back burner.
All of this and many other parts needed to finish the job have been stored in our hangar along with the Aircoupe. I had all but given up this being anything but hangar decor – almost. Then an answer to an unprayed prayer came.
Out Of The Blue
A good friend of mine, another woman pilot, was moving away, so I went to her going away party. There were aviation folks from all corners of the Air Capital, including members of the local Experimental Aircraft Association.
The subject came up about the EAA Biplane “kit” I had and their ears perked up. I filled them in with what I knew. They said, “we will build it!”. I was stunned. It turns out the chapter was looking for the right project to dig into – what better than the original Biplane designed by the EAA?
Biplane Wings Previosuly

When folks ask me what I did during the pandemic, I can say “I built an airplane!” Its over two years since this project resurrected.
Progress has been steady. Biplane Wings are taking shape and it won’t be long before we get past the point where Daddy left off. Daddy began the project with the EAA’s original plans.
Since that time a number of enhancements were made. This is not unusual, even in manufactured aircraft, that once flying, revisions occur to the original plans. It seems no matter how sophisticated the plans, the reality of flight brings out unanticipated flaws.
In the case of the EAA biplane:
- thicker and larger spar doublers at stress points with tapering (called scarfing) to distribute the stress loads
- half-inch rather than quarter-inch rib material on the end cap ribs, again for more strength.
- Some additional metal brackets in key places
Along the way we have been collecting, buying, and borrowing tools for the Chapter’s workshop. This keeps the project moving along. I am learning a lot. From cleaning and lubricating tools, to safely running a table saw, each week is a new adventure.
Onward And Upward!
I am beyond words of gratitude that the Wichita EAA Chapter 88 has agreed to take this on as a project. The combined expertise in this group is beyond measure. Humbled and honored at the progress, week by week the dream that this plane will fly is closer. Even better is new folks join the group and we get to know each other as we work. It is great fun!
What Dreams have you set aside? Dare to share in the comments below and give them a voice.