“Creativity is inventing, experimenting, growing, taking risks, breaking rules, making mistakes, and having fun.” — Mary Lou Cook
I re-purpose stuff. I primarily use materials left from rehabbing our 120+ year old houses. There are oodles of vintage wood many rehab-ers toss out as scrap, especially the raw stuff from the plaster walls: lath. I love it.
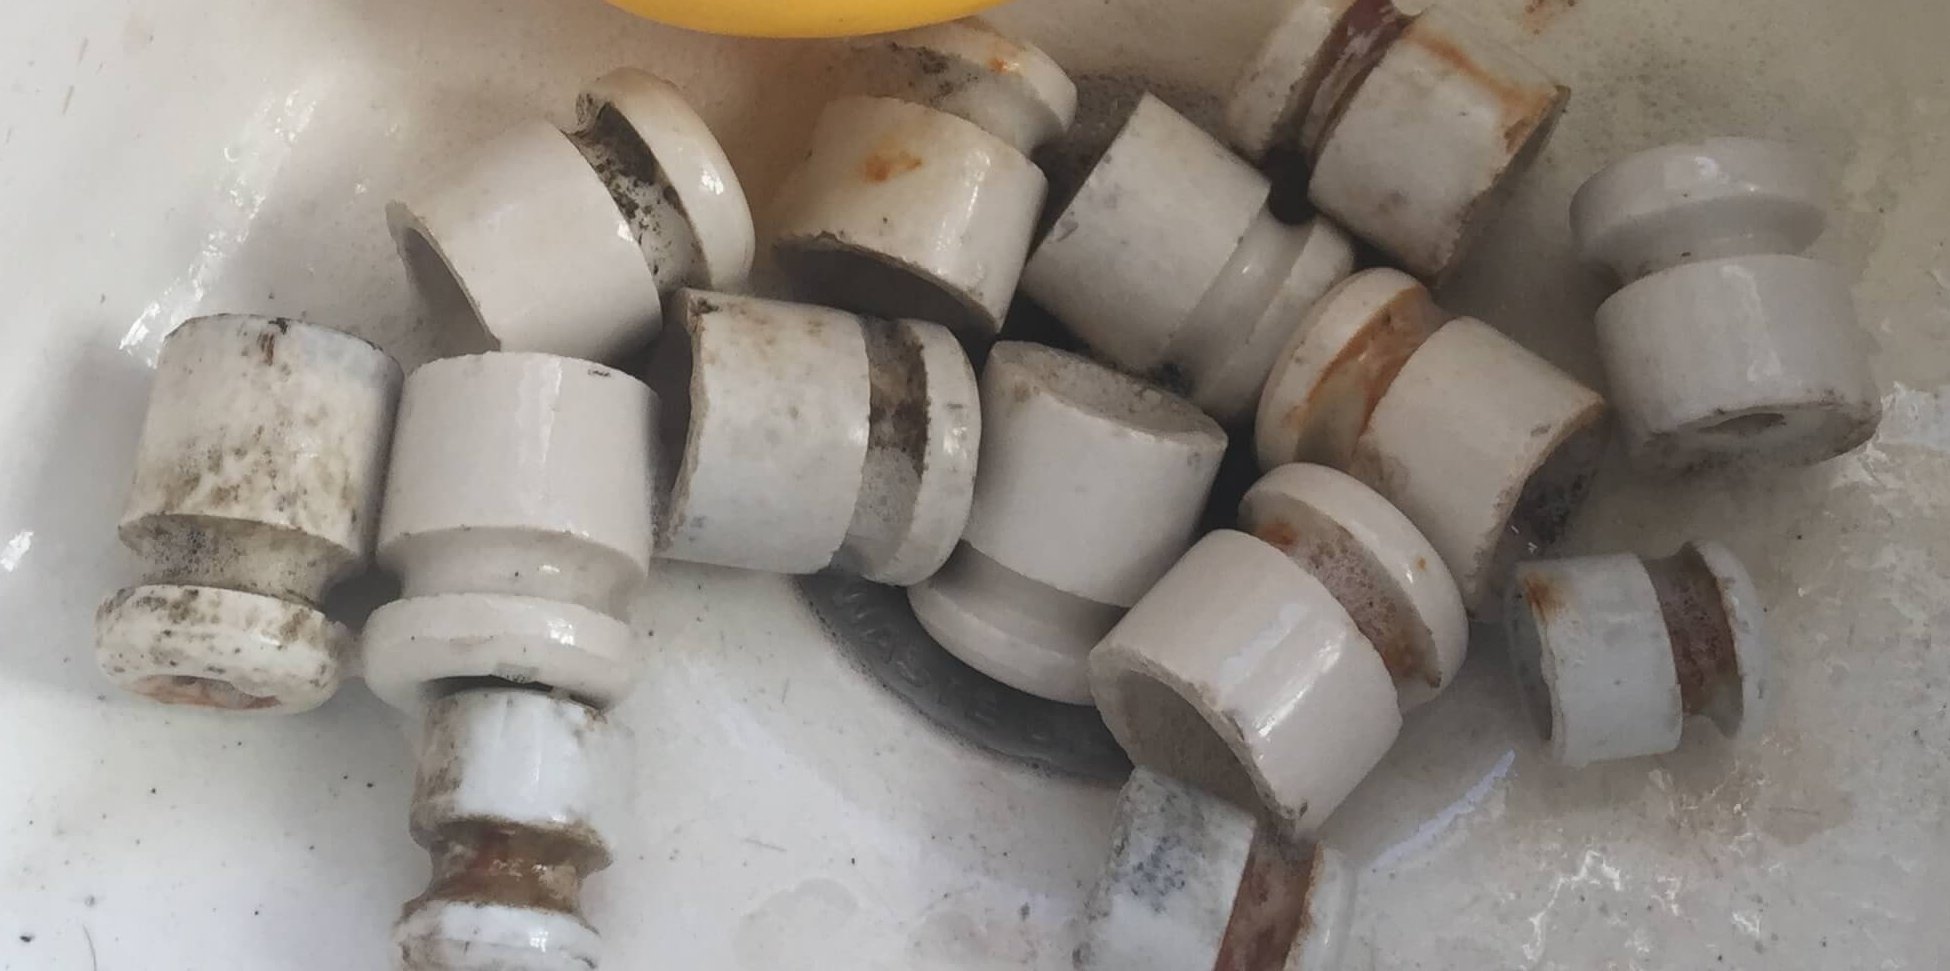
Included are those cute, interestingly shaped porcelain parts from replacing knob and tube electrical. Buckets of them. As I awoke one morning, several ideas in the form of images, popped into my head.
I had already made some small lath boxes, but what about adding some knob and tube components? They make great legs and handles adding a unique flair to each one. The images in my head danced….
The Concept
When using reclaimed materials, I let the materials dictate dimension rather than deciding on a certain size ahead of time. Ragged ends, broken and cracked parts must be removed, leaving random lengths.
In the end, for a tray all you need to start is four lengths of wood, two pairs the same. If all four happen to be the same, you have a square, if two and two, it’s a rectangle. Here is my process:
Making Boxes – The Tools:
 a Stanley hand miter saw
- a small hammer
- a set of corner picture frame clamps
- a multi-purpose screwdriver
- a cordless power drill
The Supplies:
- Greased Lightning for cleaning the porcelain parts
- Nitrile gloves (to protect my manicure – of course!)
- Wood glue
- E-600 glue (it will hold anything!)
- Wood Glue
- Lots of small brads and screws (estate sale finds)
- Buckets of hex nuts and bolts (leftovers)
- Paint samples. I generally do not paint lath, but there are other bits I may add some color to.
The Steps
- Cut the Lath into pairs of the same length. Most of the time I have already cleaned it, but if needed, I take a wire brush for a final scrub.
- Place into the frame clamps, using the wood glue as you go
- Using a very small drill bit, drill two small pilot holes in each joint. Do not skip this step! 125 year old wood is well seasoned and can be brittle – this will avoid cracking.
- Nail each corner and let set for a few hours or, better yet, overnight.
- Measure the bottom and cut the lengths of lath or other wood material for the base. I have used reclaimed cedar shingles or other bits of scrap wood as long as they are similar thickness
- Cut, wood glue glue and fasten the base with more small nails

 At this point the box is complete. I finish by adding felt pads on the bottom, and fabric inserts in the tray to give a bit of polish.
Adding the insulator knob and tube bits make cute legs and handles. I use E600 and nails or screws to hold these in place. NOTE: In the absence of knob and tube, porcelain door knobs and handles can be used. I use vintage leftovers from our stash.
Here is a simple mini cake stand I made comprised of porch parts with knob and tube for legs.
Please post questions and/or comments below. Don’t forget to subscribe as well!